
A sauna can occupy a modest part of a floor plan and still ask quite a lot of the house. The enclosing construction takes space, benches need a workable arrangement, and the doorway must lead somewhere useful. A rectangle labelled sauna does not yet show whether the room will be comfortable to enter or sit in.
For a Clarence Town renovation, extension or new home, we would work from the finished interior outwards. Establish the type of sauna with a suitable specialist, draw its usable space and complete construction, then test what the surrounding house would gain or give up.
Draw the seat before committing the room
Start with how the household intends to use the sauna. Sitting beside another person and lying along a bench require different arrangements. Describe the intended occupants and any difficulty with climbing or transferring, so the design team can assess whether the proposed arrangement is suitable.
Compare a straight bench with a corner arrangement in a measured plan and section. A return can appear to add seating while creating an awkward overlap for knees or feet. Harvia’s bench guidance identifies the importance of legroom and the space occupied by the heater; both need to remain visible in the drawing.
Place the steps or lower bench, upper seat and actual finished ceiling together. The height of an existing spare room is not necessarily the appropriate finished sauna height. Have the specialist resolve the seating, heater, protective measures and enclosure as one system, without borrowing dimensions from an unrelated photograph.
Keep the entry legible alongside those fixed elements. Show the selected door in use and a clear place to stand outside. A more complicated bench layout is little benefit if arriving, turning or reaching the seat becomes difficult.
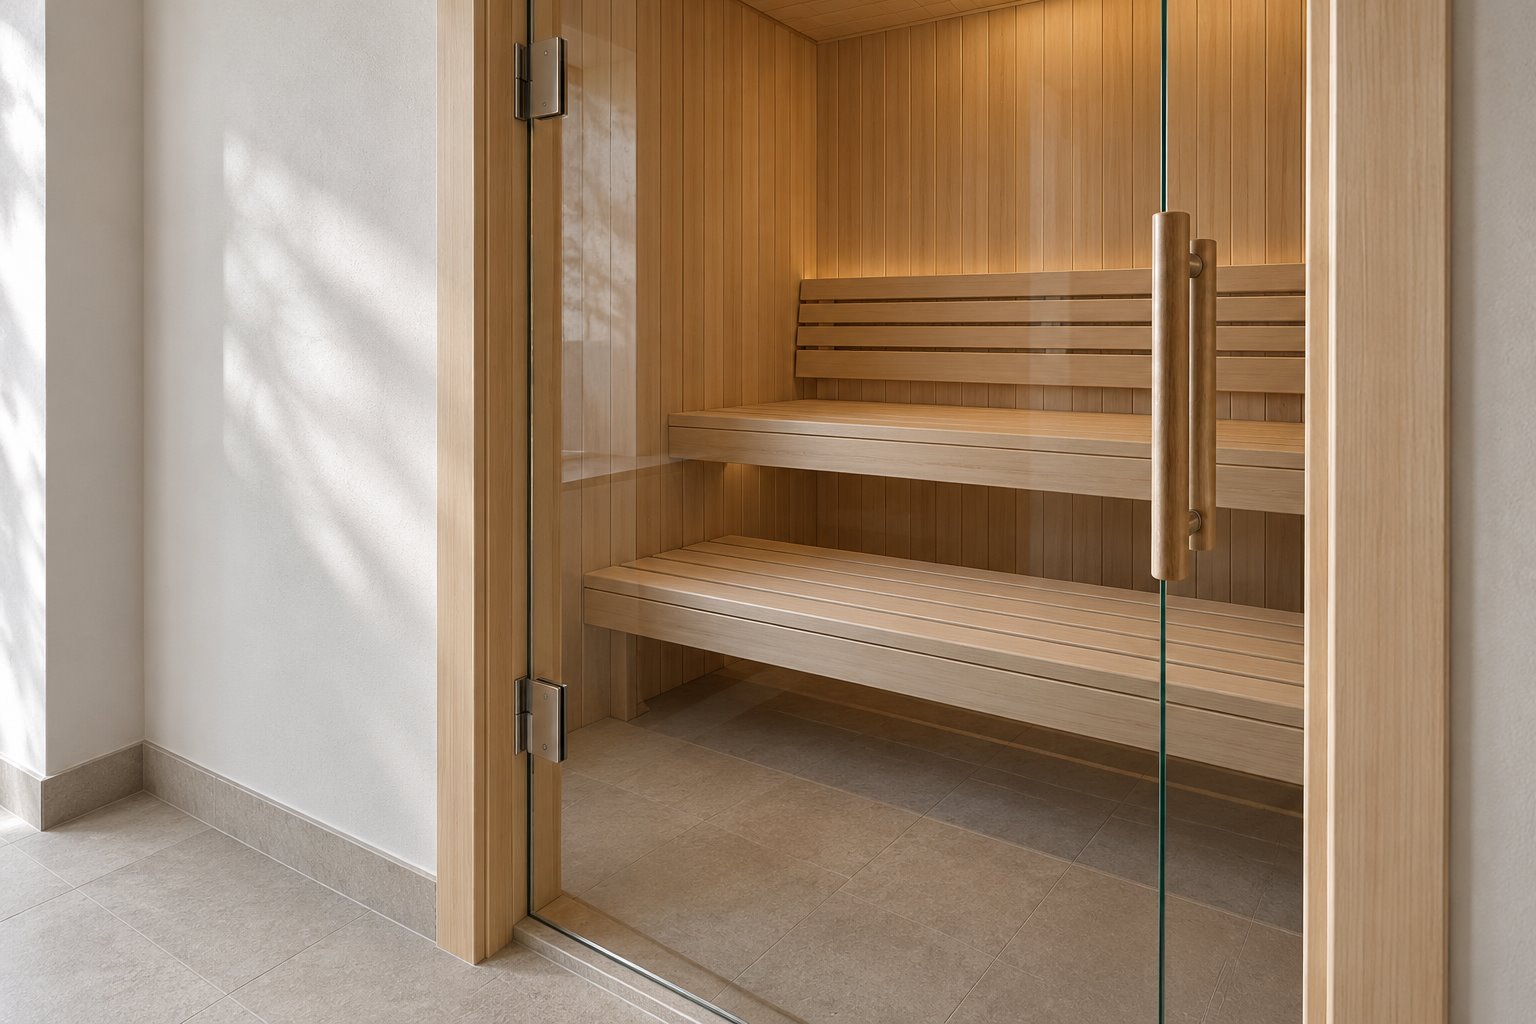
Allow for the construction around the usable interior
The space between existing walls is only the starting point. Establish the required lining, insulation, moisture management, support and service arrangements for the selected system. Draw the finished inside faces separately from the existing room boundary. An apparently generous spare room may yield a much smaller usable cabin.
Decide whether the proposal is a self-contained cabin within a larger room or a sauna constructed as part of the building. Compare the real footprint, surrounding access, wall connections and future repair work. Neither approach should depend on treating the retained wall or ceiling as suitable without assessment.
A glazed front can connect the sauna visually with an adjoining space. It also changes the enclosure that the heating system must serve. Harvia’s design guidance asks for the room dimensions and glass or stone surfaces to be considered when selecting the heater. Settle that relationship before choosing glazing solely for the appearance.
Coordinate the electrical supply, controls, ventilation and appropriate floor construction with qualified designers and installers before surfaces close. Agree how the completed room will be operated, dried, cleaned and maintained. Timber panelling is one visible layer of a specialised room; the supporting construction needs equal attention.
Find its place in the particular Clarence Town house
Dungog Shire Council’s adopted 2025 structure plan describes a low-density town centre where buildings are predominantly single storey and set back from roads, with larger rural and residential lots extending outwards. Those are different settings for adding a specialised room. A larger property does not automatically make a separate building the most useful choice.
In a retained home, compare an internal location beside an existing bathroom with a small addition that leaves useful bedrooms intact. Trace the short journey between changing, showering and the sauna, including where towels and dry clothes go. Avoid gaining the cabin by turning an everyday bathroom into the only passage through the house.
The same plan identifies the Grey Street heritage conservation area and a concentration of heritage items near the centre. Where the actual property has significant fabric, assess it before cutting new openings or attaching the enclosure. A carefully contained insertion may be worth comparing with changes to valued rooms or the street-facing form.
On a larger lot, include a detached option only with its complete building and connection back to the home shown. Locate it against the surveyed site, existing planting and services. Its additional separation should be an intended part of using the sauna, rather than a consequence discovered after choosing an attractive garden cabin.
Keep the sauna brief within the wider renovation
For a new home, compare the sauna allocation with the size and usefulness of the bathroom and adjoining rooms while the plan is still flexible. In a renovation, include the accommodation displaced, altered walls, new services and reinstatement in the comparison. Review the operating requirements of the actual selected system as well as the building work.
The structure plan is a strategic document: council expressly says it does not itself rezone land or change minimum lot sizes. Establish the current planning and building requirements for the actual proposal and address. Its garden location or compact size does not establish an approval pathway.
Bring benssur the house plan, photographs of the proposed area and a description of the sauna you are considering. We can compare its finished interior and complete enclosure with the surrounding rooms, so the project begins with a credible place in the home.
Further reading
Start a conversation
Planning a home project?
Tell us the site, project type and the main decision you need help with.
No prepared brief is required.