
A solid wall beside the stair may look dated because of its capping, finish or awkward meeting with the landing. Removing it is one possible response. Another is to reconsider its shape and detail so that a useful enclosing element becomes part of the renovated interior.
For a Connells Point home, we would draw that wall through both floors before choosing a replacement balustrade. The decision changes more than the stair’s appearance: it can alter the edge of a room, the width of a passage and the way the upper floor meets the climb.
Find the wall’s role in the retained house
Georges River’s locality statement describes curved streets following steep, undulating land towards the water. It also records a varied built setting, from Federation and interwar houses to larger two-storey contemporary homes. Those differences make the particular building a better starting point than a standard stair detail for the suburb.
Where an existing stair connects rooms on different levels, record the enclosing walls from below and above. Identify the stair’s supporting sides, the upper floor edge and the finishes covering them. Ask the relevant practitioners to establish which construction provides support or another required building function before treating it as removable lining.
Distinguish the protective edge from the handrail used for support while climbing. ABCB’s 2022 housing provisions address them separately and include structural requirements for barriers. Have the current requirements applying to the actual work established by the project team; a broad wall top is not automatically a suitable handhold.
Check whether the problem is really the solid enclosure. An oversized decorative cap or unrelated finish may be making the stair feel heavy. Compare retaining an assessed sound wall with a quieter finish and more deliberate top, alongside an option requiring reconstruction. Include the making good on both floors.
Carry the enclosure through the landing and back into the room
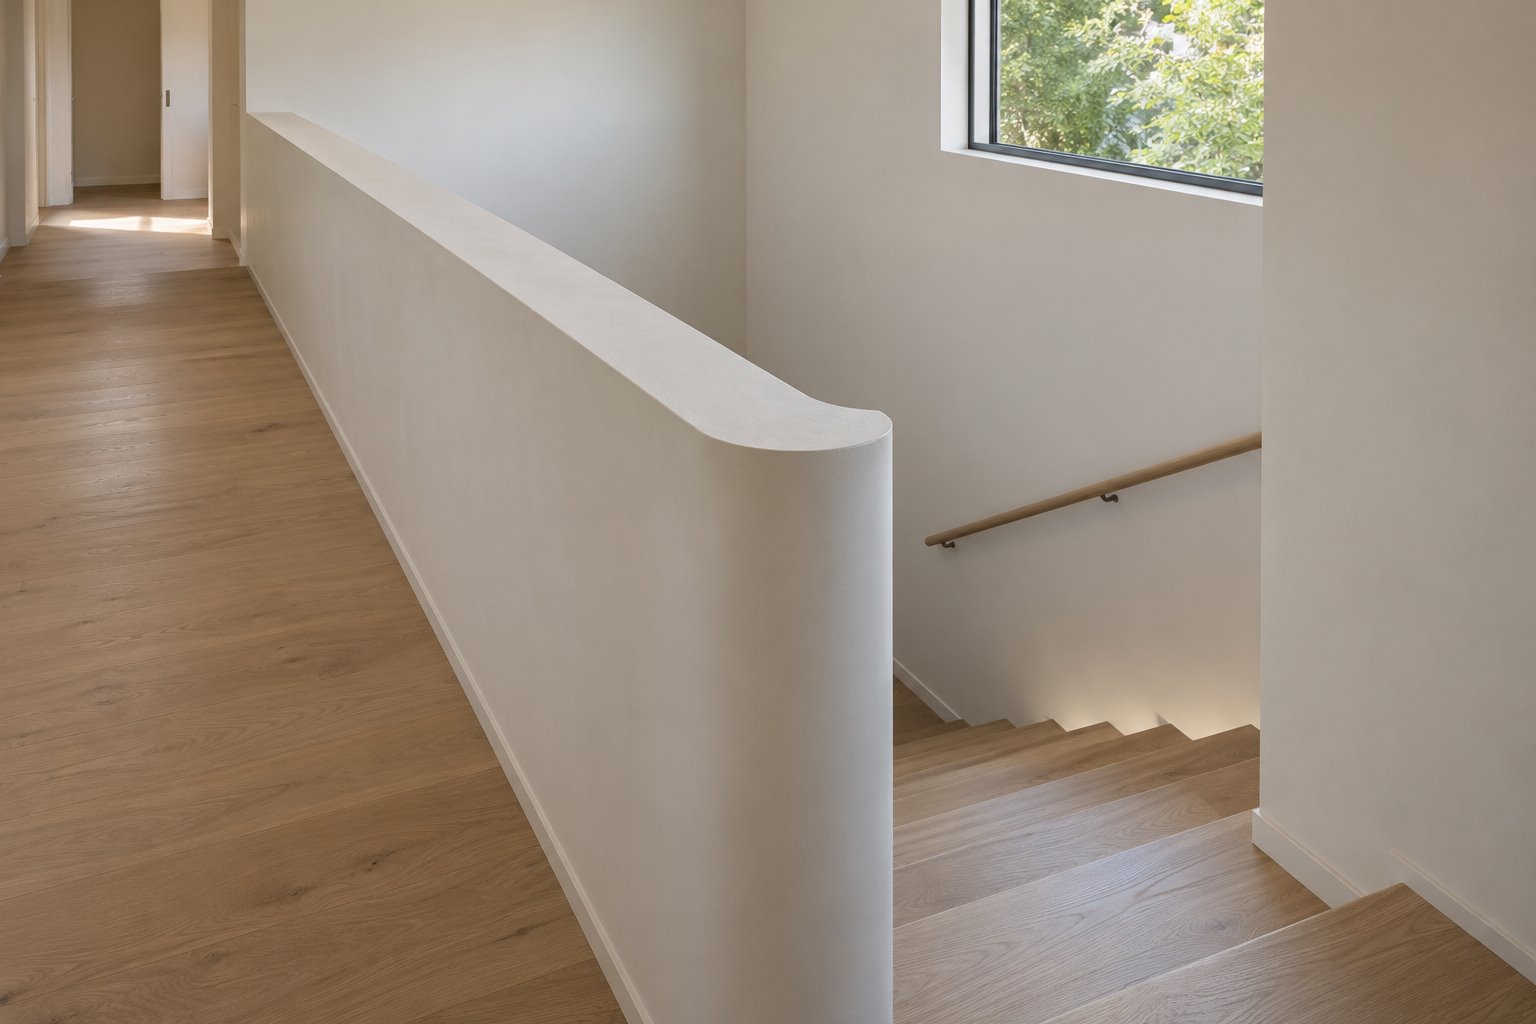
Draw where the sloping stair-side wall becomes the level wall beside the upper landing. That transition is often more consequential than a small material sample. Study its height changes, corner and termination as one continuous piece, with the necessary safety design resolved.
At the bottom, decide how the wall begins. A short projecting end, a full-height return and an open first section make different relationships with the hall. Keep the actual climb and circulation space visible in plan rather than conceal them behind a sculptural perspective.
Upstairs, show bedroom doors and the landing’s useful walking width. A thicker reconstructed wall can occupy space where people turn or carry things. Include the handrail, skirting and any projecting finish, then check the route with the same furnished rooms in both options.
A solid landing wall can help define a passage without extending a full-height partition across the room. It still leaves the air space above open. If the brief requires meaningful separation of sound or conditioned spaces, that needs a different investigation; changing only the low enclosure cannot deliver a closed room.
Avoid using the wall as an incidental bench, planter shelf or display ledge beside the stair opening. Develop the assessed barrier and the adjoining furnishings together. A useful room boundary should not quietly become an invitation to place climbable objects at its edge.
Let an open alternative demonstrate what it improves
Keep the stair and floor opening consistent while comparing a properly designed open balustrade with the solid wall. This allows the homeowner to judge the enclosure itself. Moving the stair or enlarging the opening at the same time can disguise what the material change contributes.
Trace the actual daylight source. An open balustrade may admit light across the stair, but a wall immediately beyond it or a poorly placed window can limit that benefit. Compare the complete room section, including the upper landing and the place downstairs where light is wanted.
Check the view from an ordinary place in the adjoining room. Openness might reveal a well-composed stair, or mainly expose the edge of a floor, passing feet and bedroom doors. A partial solid return may be useful, with its position established from the actual geometry.
Consider the rhythm and attachments of the proposed open system. Vertical members, posts, glass edges and any rails remain visible parts of the interior. Have the complete construction developed rather than assume a thin line in the drawing will become an equally discreet installation.
Connells Point’s locality guidance also recognises a strongly landscaped setting. Keep the room’s real garden opening in this comparison. A new internal balustrade should earn its place through the interior it improves, rather than be justified by a water view the particular house may not have.
Include the finished edge in the renovation scope
Resolve the new or retained enclosure with the upper floor finish, stair lining and adjoining walls. Draw its actual thickness and the way the top is formed. A plain plastered appearance still needs appropriate support, joints and a durable finish; it is not simply a painted sheet fixed to a floor edge.
Include access for ordinary cleaning and future inspection. Reaching the stair-facing side differs from wiping the landing face. If glazing is proposed, establish a sensible way to care for both surfaces without improvising access over the opening.
Bring benssur photographs from the stair’s foot, landing and adjoining rooms, with both floor plans if available. We can compare a retained solid enclosure, a considered reconstruction and an open alternative within a Connells Point renovation that treats the stair as part of the home’s architecture.
Further reading
Start a conversation
Planning a home project?
Tell us the site, project type and the main decision you need help with.
No prepared brief is required.