
The edge of a new timber floor can determine whether a renovation looks resolved. An extra trim might appear after installation to cover a gap, or an old skirting might lose its useful proportions when the floor rises beside it. These are decisions to make before the boards arrive.
For a Cheltenham renovation, extension or new home, we would develop the skirting with the selected floor and the wall construction. A quiet perimeter should have a clear job: finish the lower wall, accommodate the flooring detail and meet doors and joinery deliberately.
Decide what the existing lower wall can keep
Bayside’s 2024 Cheltenham and Pennydale precinct plan records streets of single-storey bungalow-style homes, surviving 1950s–60s houses and pockets of contemporary infill. That is context for the Bayside part of Cheltenham, rather than a description of every property across the suburb. The actual interior still needs its own measured record.
Photograph the skirting along complete walls, including the doorways and places previously altered. Establish its material, condition and any significance before planning removal. A simple original board may give a retained room a useful scale without needing to be replaced by an elaborate profile.
Separate damage that needs investigation from an appearance you would like to change. Renewing the base trim cannot resolve an unexplained condition behind it. Identify necessary building work before agreeing the extent of the decorative renewal.
If the existing skirting is suitable to remain, draw how the proposed floor would meet it. Compare any required additional trim with carefully assessed lifting and reinstatement where appropriate. Include the likely wall repairs and the risk to valued retained pieces in the scope.
Make room for the selected floor’s actual edge
Obtain the flooring system’s current requirements and show its perimeter in section. Include the finished surface, required movement space and the part of the skirting that would conceal the edge. The visible board width and the distance it covers across the floor are different dimensions.
Quick-Step’s timber-floor guidance distinguishes attaching skirting to the wall from attaching it to the floor. It illustrates why the trim and flooring must be coordinated. Have the installer develop the actual selected system’s detail; do not transfer a clearance or fixing arrangement from a different product.
An additional surface laid over an existing floor also changes where the wall base begins. Draw the completed height beside the old skirting and door frame. A taller visible profile may become a much narrower strip, while an added covering trim can introduce another line around every room.
Compare those consequences before deciding to retain or replace the board. In new work, the flooring and wall sequence can be designed together. In a retained room, the best result may come from a modest, well-resolved junction rather than rebuilding the lower wall for a particular photograph.
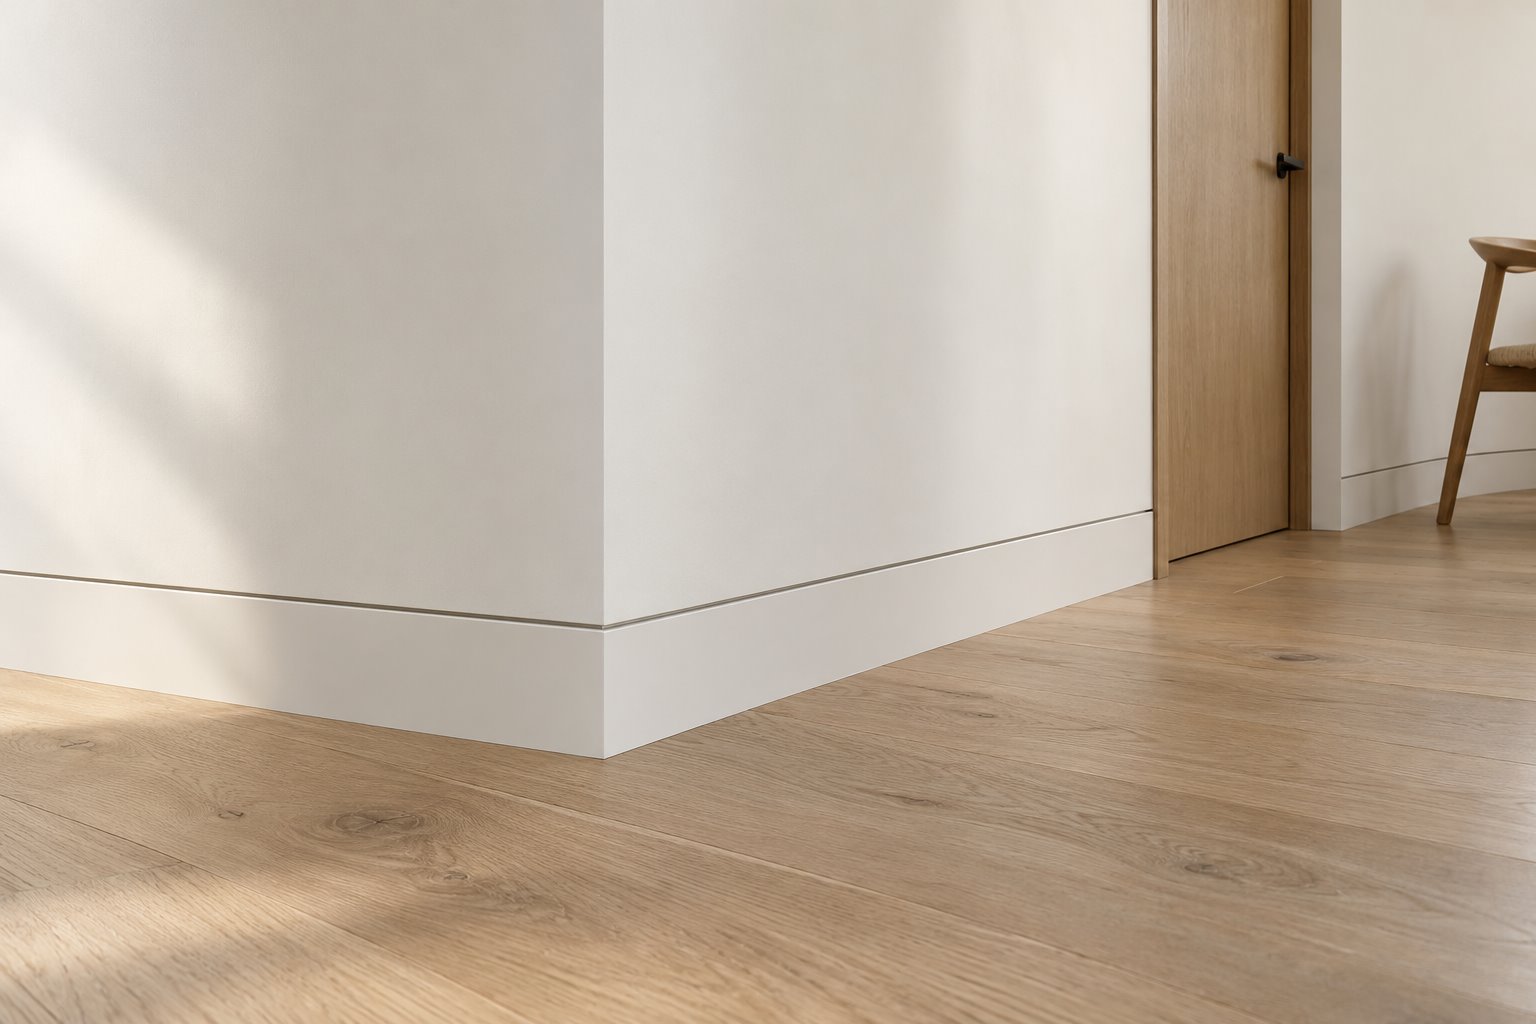
Understand what a flush appearance asks of the wall
An applied skirting projects in front of the finished wall and covers its lower junction. A flush arrangement coordinates the face of the base with the wall above. The latter can give a contemporary room a restrained perimeter, but it needs an actual wall detail rather than simply omitting the projecting board.
EZ Concept’s AluBase range illustrates a proprietary shadowline approach. Its currently linked documents show a prepared relationship with plasterboard and separate pieces for joining lengths and corners. These January 2025 documents are examples to discuss with the designer and installer, rather than a universal detail for another wall or floor.
Draw the full construction and assess the relevant wall requirements with the project team. The visible recess should be part of a finished assembly, with the needed support and performance retained. A dark line in an image does not establish an acceptable opening into a wall cavity.
For an existing room, include the extent of lining and decoration affected. A new extension may readily coordinate that detail while an otherwise sound retained interior asks for wider disturbance. Give both scopes a realistic construction and cost assessment.
Resolve the door, corner and cupboard together
Follow the skirting into a doorway at its actual height and projection. A proud board can meet a suitable surround; a flush base needs a deliberate end beside the frame. Show what is visible when the door is closed and open, rather than allow the floor installer and painter to inherit different assumptions.
At an internal or external corner, decide how the profile continues and how its material is joined. View a representative trial corner from normal standing and seated positions. A crisp line can make a small inconsistency more apparent, so agree a suitable finish with the relevant practitioners.
Put fitted cupboards and loose furniture into the same drawing. A cabinet placed tightly against the wall may need the skirting to stop beside it, continue behind it or meet a separately resolved base. The finished floor should remain properly detailed in whichever arrangement is selected.
An older room and a contemporary addition can retain different base treatments. Choose a clear transition at a doorway or wall return. Keeping one considered older profile need not prevent a quiet new interior beyond it.
Agree the sequence before the room is finished
Have the builder, flooring installer and wall-finishing practitioner agree the order of work, protection and final junction. Include future floor renewal and repair of the lower wall in that discussion. A detail that can only be reached by damaging several finished surfaces deserves reconsideration.
Confirm the responsible council and current property requirements through the relevant Kingston or Bayside route, including advice on significant fabric where applicable. Bring benssur photographs of the existing skirting, floor and door bases, with the flooring you are considering. We can develop a Cheltenham renovation or new home with the perimeter designed as part of the room, rather than added to conceal an unresolved edge.
Further reading
Start a conversation
Planning a home project?
Tell us the site, project type and the main decision you need help with.
No prepared brief is required.