
Replacing weatherboards can change more than the surface. If a rebuilt wall is thicker, the existing window sits differently within it, the eave projects less beyond it and the junction at the ground needs rethinking. Those relationships deserve a drawing before a new cladding profile is ordered.
For a Red Hill renovation, we would consider that work alongside the rooms you want to improve. The council’s 2019 township brochure describes weatherboard among the local muted materials, with houses within a densely vegetated, undulating setting. A wall upgrade should make sense with that particular house and garden, from the roof edge to the ground.
Establish which walls need to be opened
Begin with the existing construction and its condition. Identify the cladding, framing and linings, previous alterations and any available records. Investigate staining, deterioration or movement with suitable building advice before deciding that a new outer layer will resolve it.
A sound wall that needs local repair presents a different project from a wall already due for extensive renewal. Compare those scopes honestly. Removing useful fabric simply to make every elevation identical can introduce work without a corresponding improvement in the home.
Locate the rooms behind the affected walls. Is this also the room where a garden door is proposed, a window feels cold or a cupboard is being moved? Coordinating those decisions can prevent a newly finished wall being opened again. Existing fabric, services and any hazardous-material investigation should inform how the work proceeds.
Use outside access to plan a complete upgrade
Where recladding is justified, it may give access to parts of the wall that are difficult to reach from inside. We would investigate the opportunity to improve insulation and air control while the construction is accessible. The builder and relevant specialists need to establish what can actually be installed within the retained frame.
YourHome describes cladding as one part of a system that also includes framing, insulation and moisture-control layers. The outer surface deflects weather, while the assembly behind it needs a coherent way to manage water and dry. A product photograph cannot show whether those relationships suit your existing wall.
Have the whole proposed assembly assessed for the building, climate and relevant requirements. Rain entering from outside and water vapour moving through the wall are different questions. Avoid adding an impermeable layer on the assumption that more sealing always means a better result.
Coordinate any improved air control with ventilation and extraction from the rooms. A carefully rebuilt wall still belongs to an occupied house with kitchens, bathrooms and ordinary moisture production. The design should explain how the complete room will work, with appropriate technical advice.
Draw the new depth at windows and doors
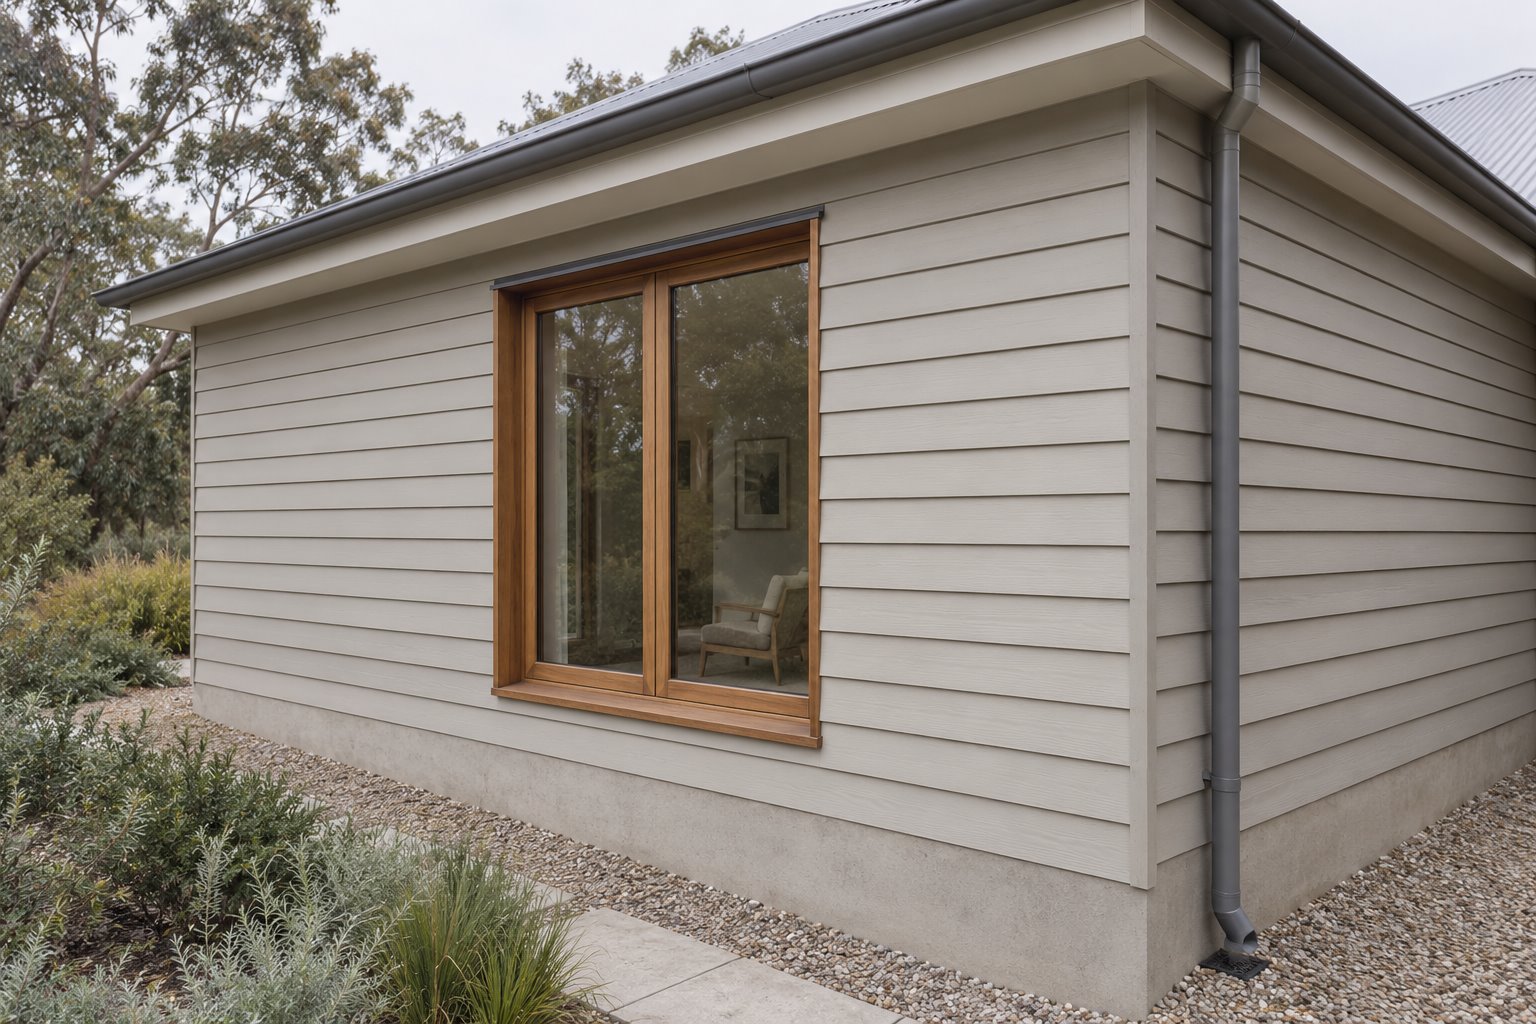
Put the existing window and proposed wall face in section. Show the head, sill and side reveals, together with the layers that meet them. If the new assembly moves outward, decide whether the window stays in its present position or needs a different relationship to the finished face.
Keeping a useful window may be reasonable, but its weatherproof connection must be resolved for the new wall. Equally, replacing the window can affect the internal reveal, trim and room finishes. Compare the complete intervention rather than price the frame and cladding as separate purchases.
A deeper reveal can give a contemporary opening a deliberate proportion. It also changes shadow and the view through the window. Test that depth from the room, particularly where the garden is already shaded by trees. Rebuilding the wall should support the opening’s everyday purpose.
Carry the wall through to eave and ground
Check the remaining eave projection against the new wall thickness. Include the gutter, downpipe and roof-to-wall connection. An outer wall pushed forward can leave awkward small returns at a retained roof edge unless they are designed together.
At the base, show the actual ground along the wall. Red Hill’s brochure describes buildings sitting within an undulating landscape and gives weight to retaining trees and undergrowth. That calls for a measured edge, rather than raising the garden or paving to conceal an uneven finish.
Keep the required separation and drainage at the cladding base clear in the design, with the correct details established for the chosen system. A new path, deck or garden bed should not quietly cover that edge. On a sloping property, a series of elevations or sections may be needed to explain the changing relationship.
Allow for access to do the work. Scaffolding, temporary protection and material handling can affect the garden beside a reclad wall. Discuss the construction method and tree protection early, especially where mature vegetation is part of the setting you intend to retain.
Choose the finish within a resolved scope
Once those junctions are understood, compare suitable cladding options through actual profiles and samples. Consider board depth, corner treatment and the appearance of the reveals together. The 2019 brochure’s muted palette is context; suitability, care and current address-specific requirements still need assessment.
An extension can use this same study to meet the upgraded wall deliberately, without requiring every retained elevation to be rebuilt. For a new Red Hill home, resolve the wall system and opening depth from the outset. In either case, agree what performance the construction must provide before treating its visible material as the whole answer.
Bring benssur photographs of the exterior, existing drawings and the rooms you want to change. We can compare focused repairs, a coordinated wall upgrade and any proposed addition, so the Red Hill renovation’s scope reflects both the home’s condition and the improvement you want.
Further reading
Start a conversation
Planning a home project?
Tell us the site, project type and the main decision you need help with.
No prepared brief is required.